Upcycling Mistakes to Avoid discussed by Eco Solutions
Upcycling is getting more and more popular and there are lots of reasons for upcycling; it’s better for the environment, it’s a cheaper option compared to buying new and you can turn a classic piece of furniture into something special which is hugely satisfying. When starting your upcycling journey you will make mistakes along the way and learn new and better ways of doing things as you go. Our Upcycling Mistakes to Avoid article will reduce the number of mistakes you make, removing frustration and the possibility of ruining an item, along with making the whole experience more satisfying for you, always resulting in you wanting to do more and try different things and techniques.
The most amazing and satisfying thing about upcycling is there are no restrictions to what you can use and how you can change something to give it a new lease of life. The only limit will be finding the products and finding new and better ways to use them or having the imagination to decide what you want them to look like.
What are the Benefits of Upcycling?
- Reduces the strain on the environment – reducing CO2 emissions by using old materials instead of making new ones (for every ton of discarded textiles used again, 20 tons of CO2 is prevented from entering the atmosphere)
- Reduces the amount of waste that goes to landfills
- Conserves limited resources
- Reduces the cost of reproduction to replace items that have gone to landfill
- Supports local industries and businesses
- Encourages creativity and innovation
- Saves you money
- It can make you money if you decide to sell
- Keeps the products you love
Upcycling Mistakes to Avoid
Upcycling Mistakes – Not Finding the Right Product to Upcycle
Buying the wrong product to upcycle will end up with you not being happy with the end result so if you don’t already have something at home you want to try with then you should firstly think about what additional furniture or the furniture piece you are looking for. Look on the internet and look at different designs, styles and colours you would like. When you have done this look on eBay, Gum Tree, local Facebook selling sites, in charity shops, at car boot sales and your local recycling centre shop to find your perfect first project. Also, ask your family and friends if they have any old furniture they no longer want that you could start your upcycling journey with.
Upcycling enables you to create your own bespoke look and feel in your home. Lots of people now mix and match decor styles; adding chic boutique furniture with modern and contemporary decor and upcycling furniture enables you to take an old sideboard, strip it back and paint it a bright colour, neutral tones or wax it so you see the natural grains and older wood. Add some new handles and you’ll have a brand new furniture piece that is individual and stands out at a much cheaper price compared to buying new or something which has been upcycled by someone else.
You can incorporate what you already have in your room by picking up on an existing colour and using it for your upcycled furniture piece and this creates a cohesive colour scheme. Decor styles can use flat finishes and velvet depths by using milk or chalk paint which complements a shabby chic look. Traditional decor can be achieved by waxing and varnishing which gives a natural wood finish, and for modern decor, use high gloss paint with glass or glittery handles and knobs.
Upcycling Mistakes – Don’t Take on a First Big Project
When you first start upcycling it’s always best to start small before working on a bigger project. Maybe start with a coffee table or bedside cabinet rather than a dining room table or side dresser. If you start too big you are likely to make more mistakes and it will take you a long time to finish which may put you off doing any more upcycling projects.
You can prevent frustration and burnout by starting with small and easy projects that will be reasonably quick to finish and enjoyable to work on.
Upcycling Mistakes – Don’t Be Afraid to be Different and Use your Imagination
Upcycling is all about using your imagination, thinking about what it will look like and how it will work in a room with other furniture when you have finished it. Think outside of the box and don’t just think that a ladder has to be used as a ladder, could it be used as rustic shelving within your home after it has been upcycled? Upcycling doesn’t always mean it has to look shiny and new, you can upcycle a piece to make it look rustic and older in style depending on the techniques and products you use. As another example, pallets can be used for so many different things, garden furniture, tables, bars, shelves, shoe stores and much much more and this all counts as upcycling.
Look at an item imaginatively and think what you could use it for rather than what it is currently used for. The weirdest and strangest uses of an item are often the best when it comes to upcycling.
Upcycling Mistakes – Lack of Preparation
Preparation comes in many forms when you are upcycling; deciding on your project, the style and finish you want to achieve, the products you will use and the tools you will need. Use the internet to do your homework with all of these things and you will end up with a beautifully finished piece that you will love.
Research the different paints and varnishes available to achieve the look you want before you start. Preparation is key to upcycling. Plan ahead and ensure you have the tools and equipment needed to do the job; stripping product, paintbrushes, different grade sandpapers, have painting or dust sheets to protect the surface and area you will be working in as well as any finishing products that will protect your finished upcycled piece of furniture.
Think about where in your home will be best to do your upcycling, you will need a large enough area, good natural light and an area that you don’t mind getting dusty if you are sanding a piece of furniture down. The garden is a brilliant place to upcycle in as the light is good but this is only an option if the weather isn’t too hot, too cold, wet or windy. A garage is also a great place to work as long as you have the right amount of space but always remember that not many garages have much natural light.
Upcycling Mistakes – Not Removing Drawer Knobs or Handles
When you are upcycling furniture with knobs or handles you should always remove them before you start to upcycle it. Painting or varnishing around drawer knobs or handles will look terrible in the end and you will always regret it. It’s easy enough to do and you can upcycle the handles separately or change them to new ones when you are finished which gives you different options to choose from.
 Upcycling Mistakes – Lack of Cleaning, Stripping and Sanding
You should always clean, strip, lightly sand and wipe wood furniture before adding a finishing product, it will make a huge difference to the finish and will ensure you don’t keep focusing on an area that you’re not happy with when it’s finished.
You should start by wiping down your project with a damp cloth to get rid of any surface dirt or cobwebs. If you need to strip back the piece of furniture to get it back to its original surface then use Eco Solutions Paint & Varnish Remover which is a much quicker, easier and less messy way of doing it compared to sanding. You simply spray or paste the product on, leave for 20 minutes and then use a scraper or scourer to remove the top surfaces. If there are lots of coats of paint or varnish then you may need to repeat this process. Using Eco Solutions Paint & Varnish Remover allows you to get into gaps and curved areas on a piece of furniture that sanding won’t so it is a must-have product when it comes to many upcycling projects.
Next, give it a light sand with a soft piece of sandpaper and this will ensure any flakes or dents are smoothed away before you start the next resurfacing stage.
Wipe the furniture clean with a damp cloth and then leave it for a few hours to ensure the surfaces are dry and ready to be painted or varnished.
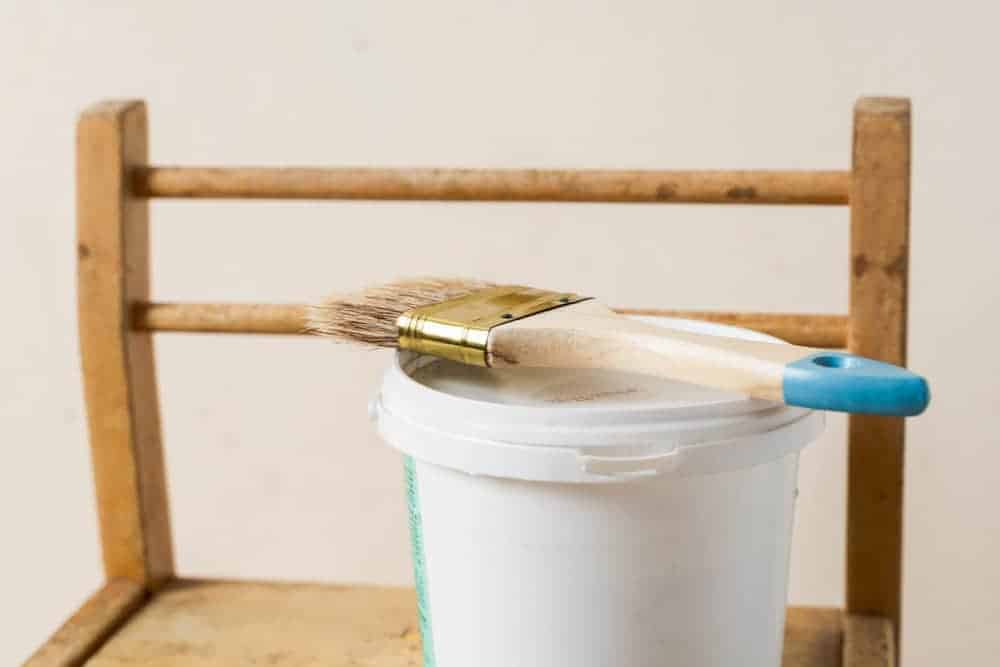
Upcycling Mistakes – Don’t Buy Cheap Brushes
When you are upcycling you will quickly learn that buying cheap brushes will cost you more in the long run in both money and in your finished result. Good paintbrushes will last the test of time if you clean and look after them properly, they won’t leave brush marks, will give good coverage and won’t lose hairs that will end up drying into your paint, varnish or finish.
Investing in high-quality paint, varnish and wax will be wasted if you use a cheap paintbrush.
When you buy good quality paint brushes wrap them in cling film or tin foil between coats and this will keep them moist and ready to use for your next coat. When you have finished, clean them thoroughly as per the product guidelines so they are all ready to go when you start the next coat or your next upcycling project.
Upcycling Mistakes – Not Using the Right Product
New upcycling products are being launched all of the time which is making upcycling a lot easier than it ever used to be. There are great forums and Facebook groups that offer advice and inspiration when you are upcycling and these are great to be part of. You will see some amazing transformations and these will inspire you when you are upcycling.
There are inside and outside paints and varnishes, waxes, tile paint, tile stickers, sticky back vinyl sheets, block paving, patio or decking paints, uPVC door paints, the list is endless. If you are painting anything you should always check how much paint you will need so you buy enough to finish your project and check if it needs a sealant or wax added as a final coat. If it does, always do this otherwise all of the work you have put in will be wasted if the paint or varnish chips or cracks which is always a harsh lesson.
Be creative with outdoor spaces and furniture, upcycling doesn’t just mean upcycling furniture and indoor items, it can mean anything. Protective outdoor paints and sprays enable you to be creative with outdoor spaces and bring the outside into your home and vice versa. You can create a cosy seating area with upcycled furniture or make your own using pallets and then varnish or paint them. Put solar lights around and maybe a firepit in the middle, all of these things will create a cosy space for you and your family to enjoy outside on those warmer evenings.
Always test your paint or finish on an area that you can’t see or on another surface to ensure you are happy with the colour and finish before you paint your whole piece.
Upcycling Mistakes – Not Using the Correct Finishing Product
There are loads of paints and varnishes out there now that don’t need a finishing product, however, to get the look you want some of them will and it’s vitally important for you to use them to ensure your upcycling project lasts the test of time.
Upcycling Mistakes – Not Using a Finishing Creams
You can easily add shine to an upcycle project by applying a finishing cream which will also prevent the finish from wearing away and it will protect it in the long run.
We all have odd socks that appear and these are great to have in your upcycling tool kit as they are a great way to apply wax or a finishing cream to your painted piece.
Upcycling Mistakes – Don’t Give Up
Whenever you upcycle anything you will always learn along the way and make mistakes but never give up as you can always strip the piece back again and repaint or varnish it if you need to. Try not to cut corners as you’ll regret it in the end and by asking for advice on forums or from family or friends there will always be a way to do a job right or correct something you’re not happy with.
Upcycling Mistakes – Don’t Be Afraid to Try New Upcycling Techniques
When you’ve finished your first upcycling project you will no doubt be keen to start another so look for inspiration and try new techniques. You can always try them out on a bit of the surface that you can’t see or use a scrap piece of wood you may have before you start.
You will be amazed by just how many different upcycling techniques there are, different products to try and different effects you can achieve when you are on your upcycling journey..
Be bold and try different colour and texture combinations on your journey and you won’t be disappointed.
What is the Best Paint or Varnish Remover for Upcycling?
Eco Solutions Home Strip Paint & Varnish Remover is the best paint and varnish stripper and is ideal to use for many upcycling projects. Most DCM-free paint strippers have just replaced one hazardous solvent with another, however, Eco Solutions patented technology removes the hazardous solvent content and replaces it with water.
Why is Eco Solutions Home Strip Paint & Varnish Remover safer than other traditional Paint Removers?
- Water-based
- Tough, not toxic
- Non-hazardous
- Non-toxic
- Non-caustic
- PH neutral
- No fumes
- No skin burns
- No ventilation required
- Non-flammable
- Non-combustible
- Suitable for use around people with respiratory problems such as asthma sufferers
- Working wet system
- Ideal for removal of lead-based paints
- No H (hazard)
- No P (precautionary) statements on the label
- Environmentally safe
What are the Benefits of Eco Solutions Home Strip Paint & Varnish Remover?
- It is suitable for use on wood, metal and masonry
- It doesn’t create dust as sanding does
- Rapid and effective paint removal
- It won’t scratch the surface as sanding does
- You can get into awkward areas compared to sanding
- It is gentle on wood and won’t damage its surface
- It removes the paint in the grain of the wood and doesn’t damage it
- It doesn’t discolour surfaces
- It can be used on all types of surfaces including wood (hard and soft), Marble, Stone, Brick, Concrete, Plaster, Ceramic Tiles, GRP, Aluminium, Brass, Cast Iron and other soft metals.
- It removes; Lead-based paints, Oil-based paints, Solvent-based paints, Water-based paints & emulsions, Polyurethanes, Stains, Varnishes and waxes, Intumescent paints, Rust-preventative surface coatings
- Eco Solutions Home Strip Paint & Varnish Remover is quick and easy to use and saves the hard work from repeated sanding, dust and fumes when you are upcycling furniture.
How to use Eco Solutions Home Strip Paint & Varnish Remover
- Put gloves on and use an old or cheap paintbrush to coat the surface with a liberal amount of Home Strip Paint & Varnish Remover, the thicker the coating the better
- Depending on the size of your project it can take just 5 minutes to apply the product
- Leave it to work its magic
- Just 45 minutes later you can start the next stage
Removing the Varnish or Paint on your Upcycling Furniture Project
- You will need a bowl of warm soapy water (washing up liquid is fine)
- Take a stainless-steel scouring pad, the same as you would use on a saucepan and scour the surface all over to expose the wood
- You will start to see the natural grain of the wood or surface as the paint or varnish comes off and as you work over it you can wipe it with a dry cloth
- Be aware it will dry almost 3 times lighter
- Home Strip Paint & Varnish Remover gets into the grain of the wood so when you scour it you will see the natural grain come through
- Any lumps and bumps of paint or varnish will be removed
- Giving a good scour and rub doesn’t damage the grain or the wood so don’t be afraid to do this just always do it in the direction of the grain
- You can leave it on longer than 45 minutes and it won’t damage it. Even 24 hours later is fine. If the Home Strip Paint & Varnish Remover has dried when you go back to it just spray it with water to reactivate it before you rub it down with the warm soapy water and scourer
- The surface will dry out properly in approx 1.5 hours but we advise that you leave it 24 hours if you are waxing, varnishing or repainting it again
That’s it you are done, it’s that easy. You have stripped your upcycling project quickly and easily with no fumes, burns or mess and you are halfway through completing your first upcycling project and are well on the way to making a beautiful bespoke piece.
Eco Solutions range of safe water-based products includes; multi-purpose paint strippers, a one-stop all-around graffiti remover, a textured coatings remover (ideal for removing Artex® type coatings) and other specialist products including general cleaners that remove grime, paint, glue and much more.
One product does all and there are no pre or after treatments needed. They are safe to use yourself and cause no harm to the environment compared to conventional and sometimes hazardous solvents and are a must-have product in your upcycling tool kit.
Eco Solutions Product Features
One product does all – No pre or after treatment – Suitable for many substrates – Water-based – Non-hazardous – Non-toxic – No skin burns – Non-caustic – Non-flammable – PH neutral – Solvent-free- “Tough not toxic” – No H (hazard) or P (precautionary) statements on the label.
Paint & Varnish Remover removes all types of paint, varnish and surfaces. It is quick to use, safe to use and means no need for sanding so no mess.
Grime Go removes all types of grease, oil, dirt, stains, grime, dirt, mould, adhesive residues and paint splashes too. It can be used to prepare surfaces for repainting or just to clean and brighten the substrate. No fumes, no skin burns, no abrasives and non-toxic.
PVCU Cleaner cleans uPVC windows, doors and guttering (may etch certain types of Perspex and polycarbonate so do a patch test first). Removes heavy grime, dirt, oil, and paint splashes too. Spray on and wipe away any stains and grime. The product is safely being used by an increasing number of consumers and professional users alike. DIY Doctor is currently one of the largest home improvement websites in the UK. They are committed to putting the customer first, providing a platform for novice and experienced Home Improvers so they can get together with experienced tradesmen to share knowledge, skills and experience about anything to do with house and home. You can see their demonstration for PVCu Cleaner here.
Super Strength Degreaser removes grease, oil, grime, glue and even light carbon build-up. It is effective and pleasant to use, water-based, no abrasives with no H (hazard) or P (precautionary) statements on the label.
Graffiti Go removes all paints including car spray paints – Graffiti shadow – Leather dye – Marker pen -Crayons – Fly posters – Chewing gum and can be used on all types of surfaces including; woods, all metals (including Aluminium), stone (including soft and porous stones), brick, marble, concrete, most plastics (may etch certain types of Perspex and polycarbonate).
X-Tex Artex Remover is one of the quickest, easiest and safest ways to remove Artex®. Simply paint over the artex® walls and ceilings then scrape off when softened. This process is called a working wet system and means that the artex® is kept wet at all times. This results in no asbestos fibres becoming airborne and eliminates the risk of breathing in hazardous microfibres which can lead to Asbestosis.
Where can I buy Eco Solutions Home Strip Paint & Varnish Remover?
Our Home and Trade Strip Products are ideal to use for any upcycling, cleaning or DIY job and can be ordered through Brewers, Buildbase, Jewsons, Travis Perkins, or for aerospace +Cromwell/Med-Lab. You can find our list of stockists here.