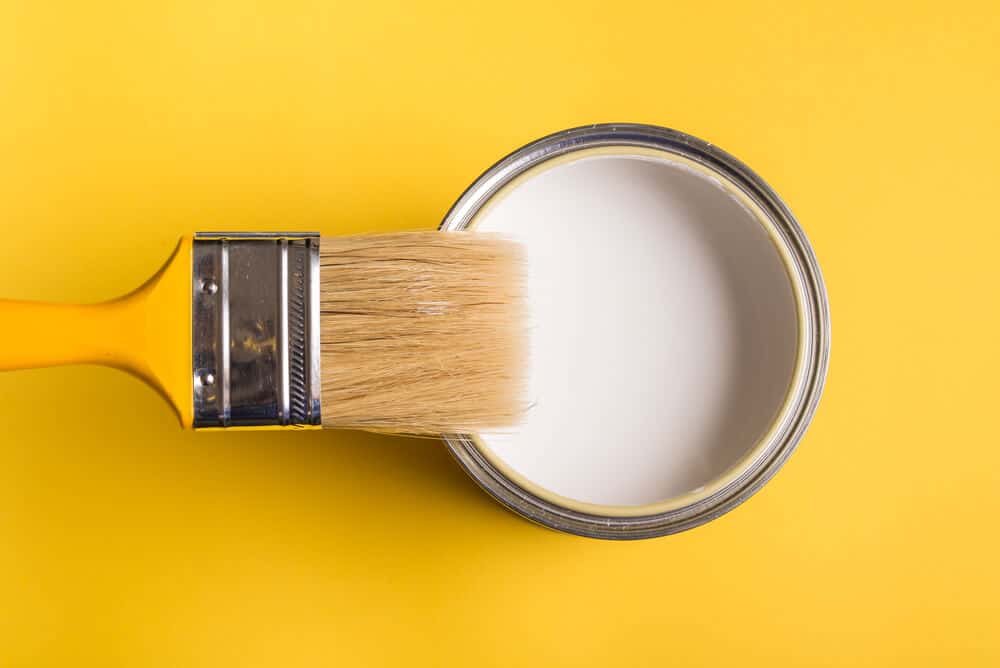
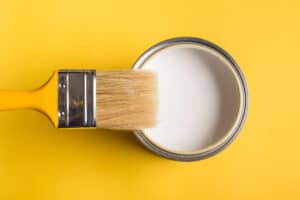
Preparing Walls For Painting – Tips for the best results
Preparing your walls for painting is the first step in getting a smooth, attractive, and durable finish. Whether you’re painting an old and worn wall or a newly plastered wall, you should always prep it before applying the first coat of paint. If you don’t have a painting background or haven’t painted before it is something you might not know. Below is a step-by-step guide on how to prepare different walls for painting that you’ll find useful for your home painting project.
Preparing a wall before painting
There are different wall surfaces that you may need to prepare before you start painting. The technique you use on an old chipped, and a rough wall will not be the same as the one you use on a newly finished and generally smooth wall with a plastered finish. Depending on the surface you’re dealing with, follow the steps outlined below when preparing walls for painting:
Preparing a plastered wall
A plastered wall is the easiest to paint, as the surface will be relatively smooth with little blemishes.
-
- A freshly plastered wall will only need a primer and undercoat to get your wall ready for the first coat of paint
- Use a roller to apply a primer, followed by an undercoat to create the best painting surface
- Priming the surface will seal it and keep the plaster from soaking up the paint when you apply it. If you don’t do this it can lead to a lot of waste, resulting in more coats of paint being needed than necessary
- Also, remember to let the new plaster fully dry before you start prepping to paint. This will be evident when the wall turns a uniform grey/pink colour with no dark patches and can take anything from 24 hours up to a week depending on the temperature of a room
Preparing walls for painting
Walls that have been previously painted tend to be easier to prepare for fresh paint compared to wallpapered walls. However, they will need a bit of work to make them look smooth and professional. Use the following steps to prepare your wall:
Fill any cracks and holes
Clean any marks or blemishes on the wall using Eco Solutions Painters’ Prep to remove any dust, debris and grease that could prevent the filler from curing into the wall. Using a flexible filling knife, press the filler into the gaps to achieve a smooth surface. Allow the filler to dry before smoothing the spot with sandpaper.
Sand the wall
Using a new and finer piece of sandpaper, lightly sand the wall to remove any peeled paint still hanging onto the wall. This leaves you with a fine texture that enables the paint to stick to the surface better.
Clean the wall
Use Eco Solutions Painters Prep and use to wipe off any grease and fingerprint marks. Painters’ Prep Professional Strength 5-in-1 is a unique product with a myriad of different applications to tackle the toughest of jobs and prepare your surface for repainting. It removes all types of wax, grease, oil, dirt, stains, adhesive residues and nicotine stains etc. It is ideal for preparing surfaces for repainting to clean or brighten the surface.
It can be used indoors and outside with no need to ventilate the area when working. It can be used without gloves or a mask due to its water-based formula and non-toxic ingredients. It is a water-based product and is free of VOCs, acids, alkalis, and any hazardous solvents.
It’s easy and safe to use, simply spray the surface you want to paint with Painters Prep and wipe clean with a damp cloth to remove the residue before allowing it to dry. When fully dry you are then ready to apply your first coat of paint.
The Eco Solutions Painters’ Prep Professional Strength 5-in-1 is the ideal alternative product to sugar soap for cleaning, stain removal, de-waxing and preparing walls for painting.
Preparing a wallpapered wall
When it comes to wallpapered walls, some people choose to paint over the wallpaper but this doesn’t leave an attractive finish. You might need to remove the wallpaper first before painting the wall. Follow the steps below for this:
-
- Groove the wallpaper using a stripping knife in diagonal crosses. Take care not to puncture the plaster behind the wallpaper
- Soak a sponge in hot water and press it across the wallpaper to make it softer and easier to remove. Watch out for any electrical sockets and switches when doing this
- Use a flat-edged scraper to remove the wallpaper by sliding it into any of the cuts and pulling out the paper
- Alternatively, you could use a steam stripper to remove the wallpaper. Simply fill the tank on the steamer and plug it into a socket before releasing the steam onto the wall. Do this across the entire wall until the wallpaper is damp and soft before you use a flat-edged stripper to remove the old wallpaper
- Once you manage to remove a good percentage of the wallpaper, there will be a few specks of paper still sticking to the wall. You can use sandpaper to scrape off these remaining pieces so that you only have the plastered wall to prepare
- Take a fresh piece of fine sandpaper and lightly sand the wall to achieve a smoother finish
- Just like you did before, use Eco Solutions Painters’ Prep Professional Strength 5-in-1 to clean away residue and grease marks on the wall. Wipe away any traces of the solution with a damp cloth and allow the wall to fully dry
- At this point, your wall is ready to paint
Should I sand my walls before painting?
This will generally depend on the condition of the surface. If you’re working on a newly plastered wall, sanding may not be necessary as the wall surface is already smooth. However, for an old wall, you should properly sand it to achieve a level surface. By running your palm over the wall, you will feel the rough spots that need to be sanded. Note that painting on a smoother wall will deliver a more attractive and professional finish, and sanding helps you achieve this.
Should I paint over old paint?
You may be able to paint over old paint but you won’t always get the smooth and professional finish you are looking for. Also, the finish might look good to start with, but it won’t always last. The paint can start to flake and peel sooner than you’d expect. You can avoid this by using Eco Solutions Painters Prep solution which will give you the finish you are looking for. Simply spray the solution onto your surface and leave it for a short time. Always test a small area first to obtain the correct dwell time. Wipe the solution away with a damp cloth and leave it to dry before applying your first coat of paint.
How long after washing my wall with Eco Solution Painters’ Prep Professional Strength 5-in-1 can I start painting?
In most cases, you should wait at least 24 hours for the wall to dry. But be sure to check before starting to paint. Depending on the temperature of the room, some walls may take longer to dry and painting on a wet or damp wall won’t give you the results you want. Typically, the paint won’t stick to the wall properly and will start to peel off and flake after the application.
Preparing walls for painting summary
Repainting a room will completely change its look and make it feel fresh and clean. To achieve the results you are looking for and a surface that will last a long time, preparing the wall is one of the most important steps that you should follow. Whether it is a newly plastered, old, or wallpapered wall, the above guide explains how to prepare your walls before painting for the finest finish.
Preparing Walls For Painting Using Eco Solutions Painters’ Prep
The perfect surface product for preparing walls for painting can be purchased from our network of suppliers here or through amazon.
For surface preparation before painting or refinishing, Trade Strip Painters’ Prep Professional Strength is the safest option. We offer a water-based formula that doesn’t require mixing.
This eco-friendly product will remove stains, wax, grease, oil, dirt, adhesive residues and wax in just one step, and is the alternative to using sugar soap to prepare your surfaces for painting as well as cleaning and brightening.
Painters’ Prep can be used indoors with no need to wash off, simply spray on and wipe clean with a damp cloth.
Our water-based formula has been developed from our original world-leading innovative technology, is the go-to product for the professional painter & decorator and is available for homeowners to buy.
It is free of VOCs, acids, alkalis, and any hazardous solvents.
Health & Safety: Not classified as dangerous to the environment or human health. Safety data sheet available for professional users on request.
Our water-based, non-toxic, formula can be used safely on most substrates to remove all types of coatings, adhesives, residues, wax, grease and much more and is the ideal product to prepare your walls or ceilings for painting.
Available in 750ml trigger spray, and 4 Litre jerry.
You can see our full range of safe, non-toxic, water-based products here.